| Payment Type: | T/T |
|---|---|
| Incoterm: | FOB,CFR,CIF,FCA |
| Min. Order: | 2000 Piece/Pieces |
| Delivery Time: | 35 Days |
Model No.: 7098564C1
Packaging: carton, PE pallet, wooden pallet, steel box, PE flow box
Productivity: 2500/BATCH
Brand: NONE
Transportation: Ocean,Land,Air
Place of Origin: NINGBO
Supply Ability: 70000/MONTH
Certificate: ISO/TS16949:2009
HS Code: 7616991090
Port: NINGBO,SHANGHAI
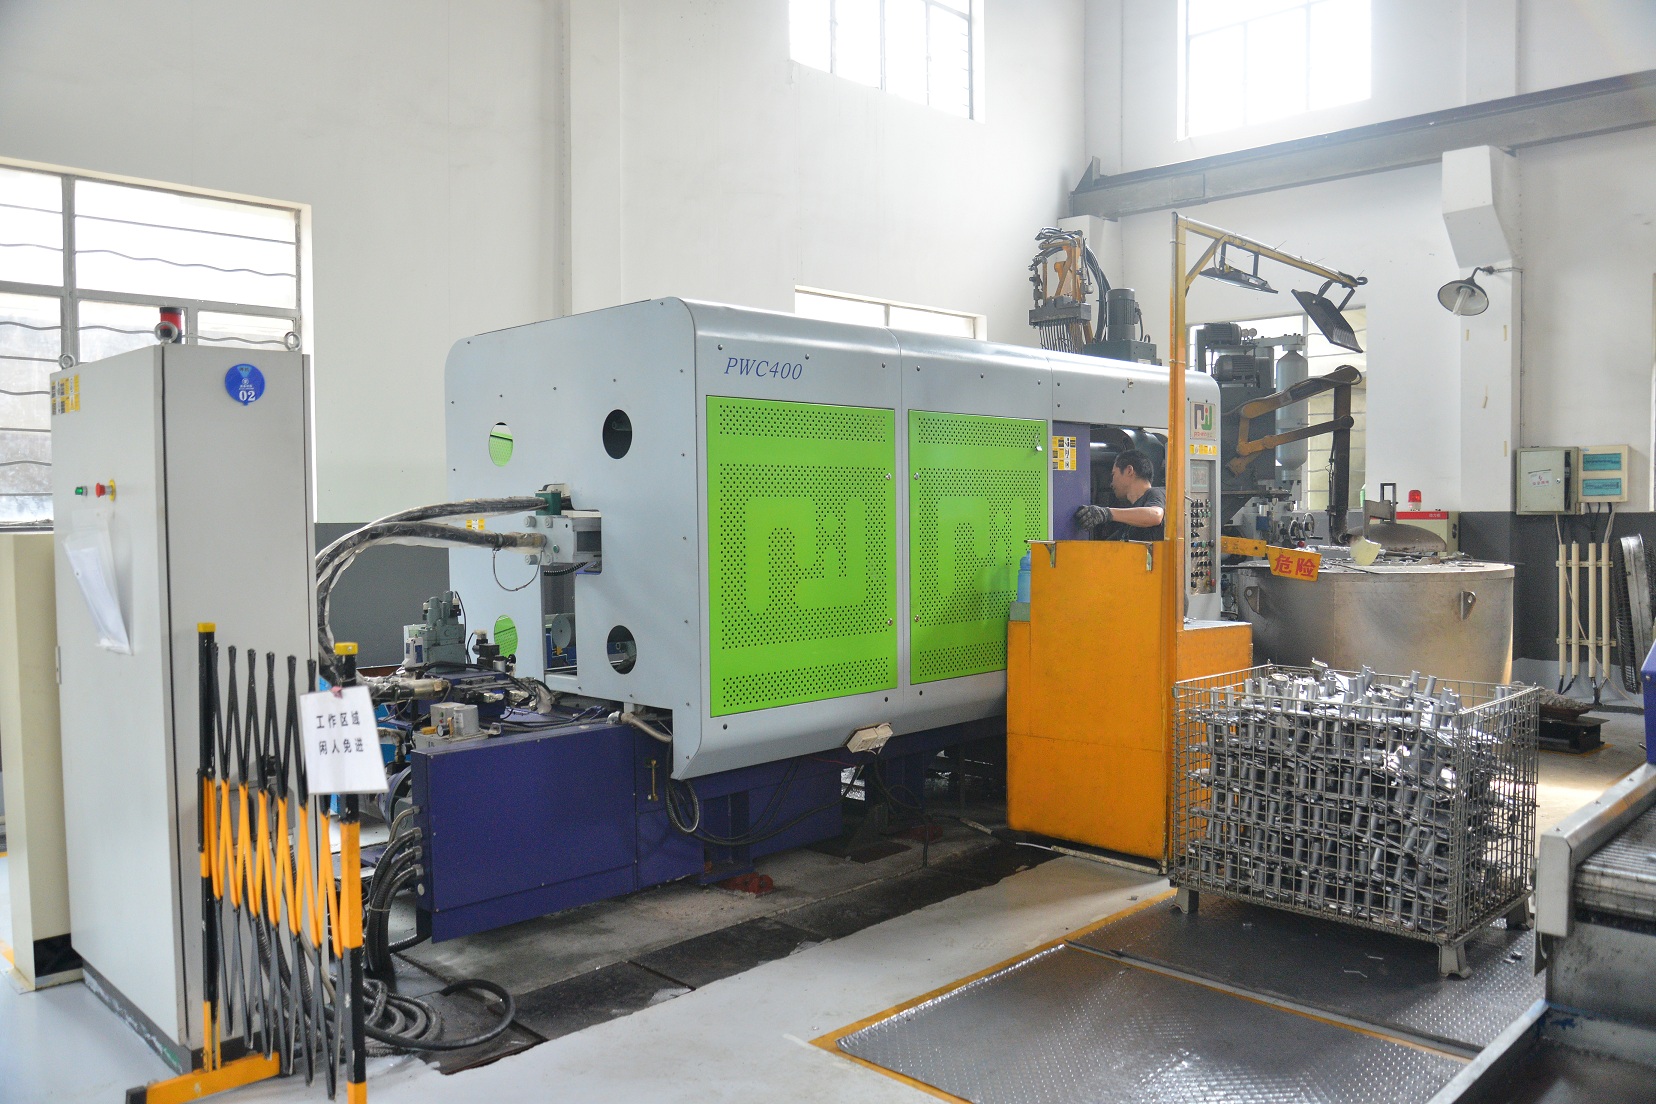
Aluminum Die Casting Heat Return Bracket, it is an auto part, it is produced from High Pressure Die Casting technology, the implemented die casting standard is Grade GB-CT4, according to the print, there are a few thread holes on the part, without blind hole, after machining, porosity will be easily exposed to the air, even worse, if the size of the porosity is too big, the thread will happen to be broken after machining, leading to failure of actual assembly. So while developing the mold, we will carefully consider the setup of the location of the injection gate, runner, and venting system etc. Meanwhile, the engineer always follow on the whole flow processes to determine the die casting process parameters, such as proper press, shot speed etc. to ensure the sufficient filling rate, in this case, to decrease porosity and relief problem of die casting defects. During the developing, the engineer will gather all the information and produce the work instructions accordingly.
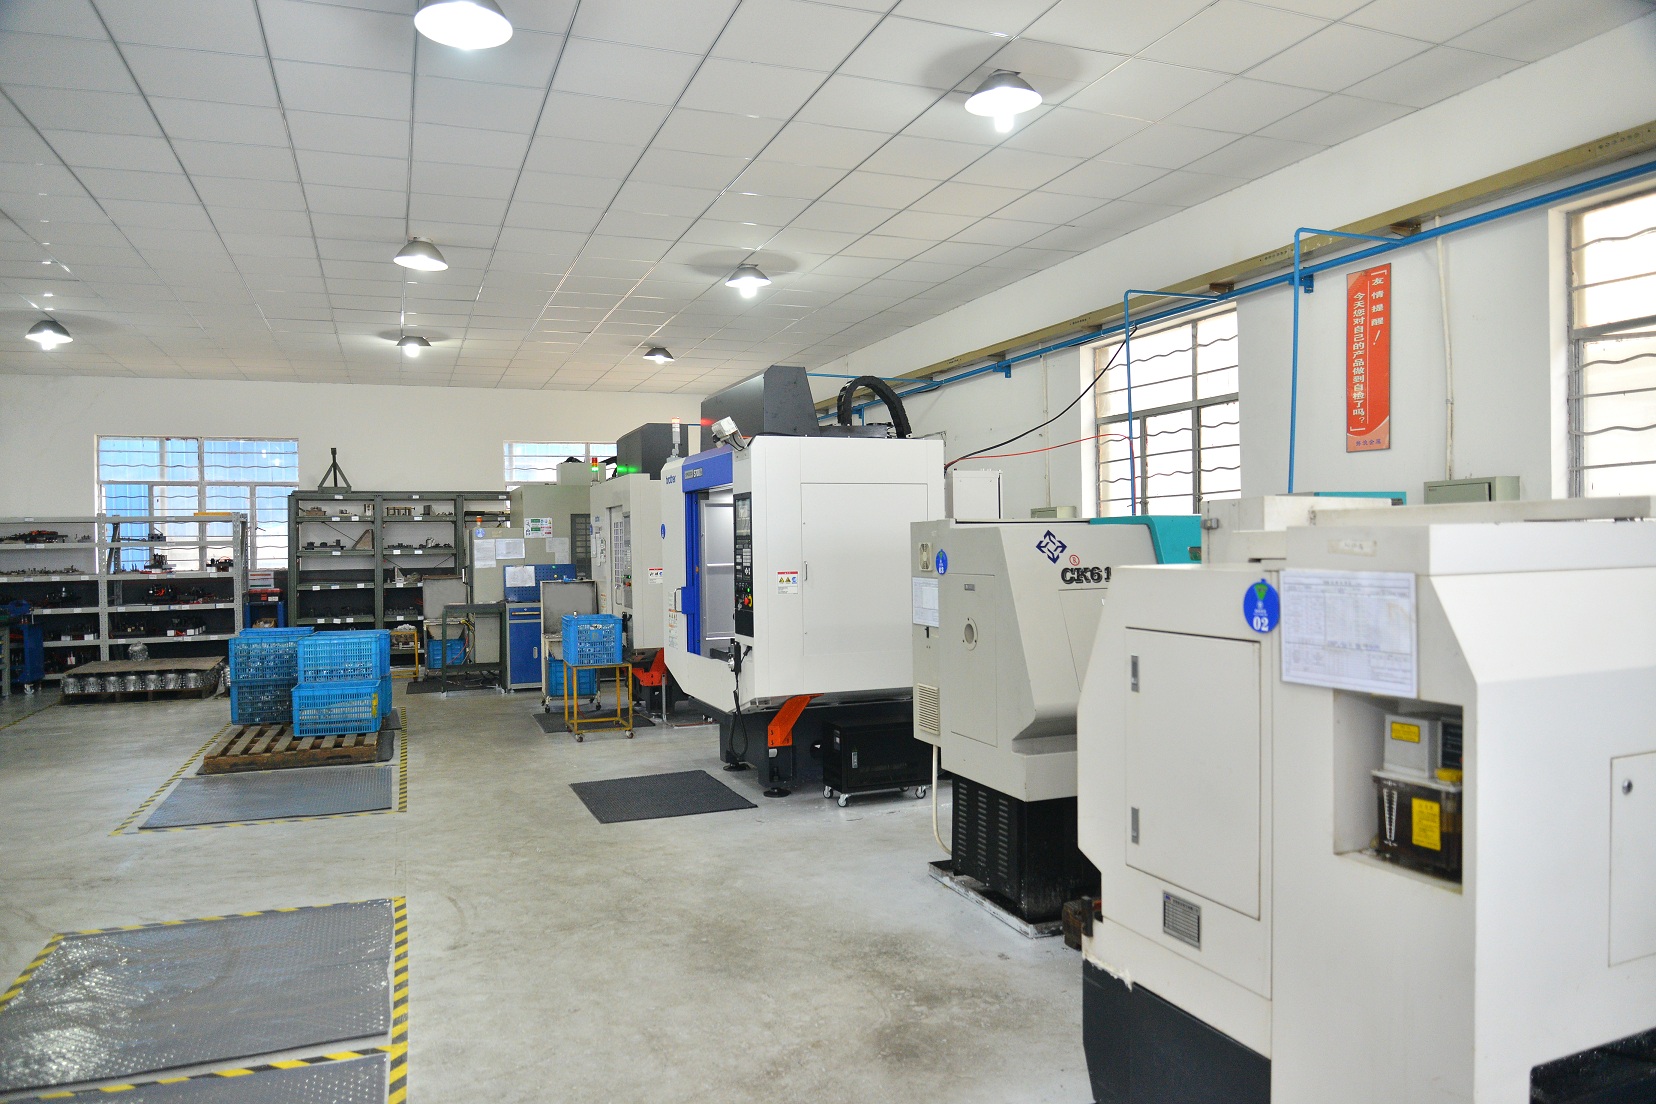
After die casting, remove the injection gate and deburring, then outsourced for shot peening in method of hanging to make the part beautiful and consistent, meanwhile not deform. Then, flow to next step- High Precision CNC machining, the two φ6.8 mm through hole and M8 thread hole have relative positioning relation, so prior to machining, while debugging, after OP10, the inspector should confirm if the first article is qualified, in this work, the operator and the inspector should make good management on the part from debugging, it is because the part will have deviation if fixed at the second time. So no matter good or negative, the part from OP10 for inspection should be marked and scrapped, avoiding flow into good parts. For the part after first article inspection, the inspector should give back and put at the specified area set by the workshop. While duty shifting, the parts should be sorted and marked separately, what's more, the operator should ask the operator of the next shift to pay attention to the critical points which should be noticed. In addition, the clamping point of the fixture is small, but the fixture is drived by hydraulic power, the force is strong, so the press heads are chose to be plastic material, in order to not generate clamping mark.
Material: ADC-12
Cavity Number: 1
Process Technology: High pressure die casting, Cold Chamber
Product Dimensions: Customized
Casting General Tolerance: Grade GB-CT4
Surface Finish: Polishing, shot blasting
Flow Processes: Die casting, Degating, Deburring to remove the flash around the ejector pins, Polishing to remove the parting line, Shot peening to make the part more consistency, High Precision CNC Lathe Machining, E-coating, Cleaning, Packaging, Shipping
Control Measure: Incoming Material Test, First Article inspection, Routing inspection, Final item inspection, and Outgoing quality control
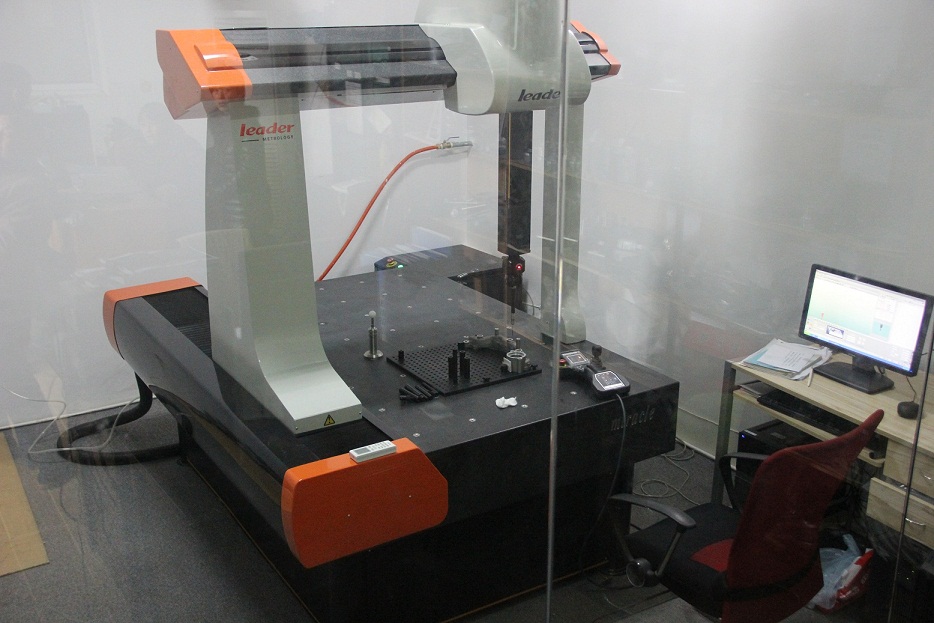
Inspection Equipment: CMM, Caliper, Plug Gage, Screw Gauge
Application: Auto Parts
Certificate: ISO/TS16949:2009
Lead Time: 30-35 days
Trade Term: FOB Ningbo


